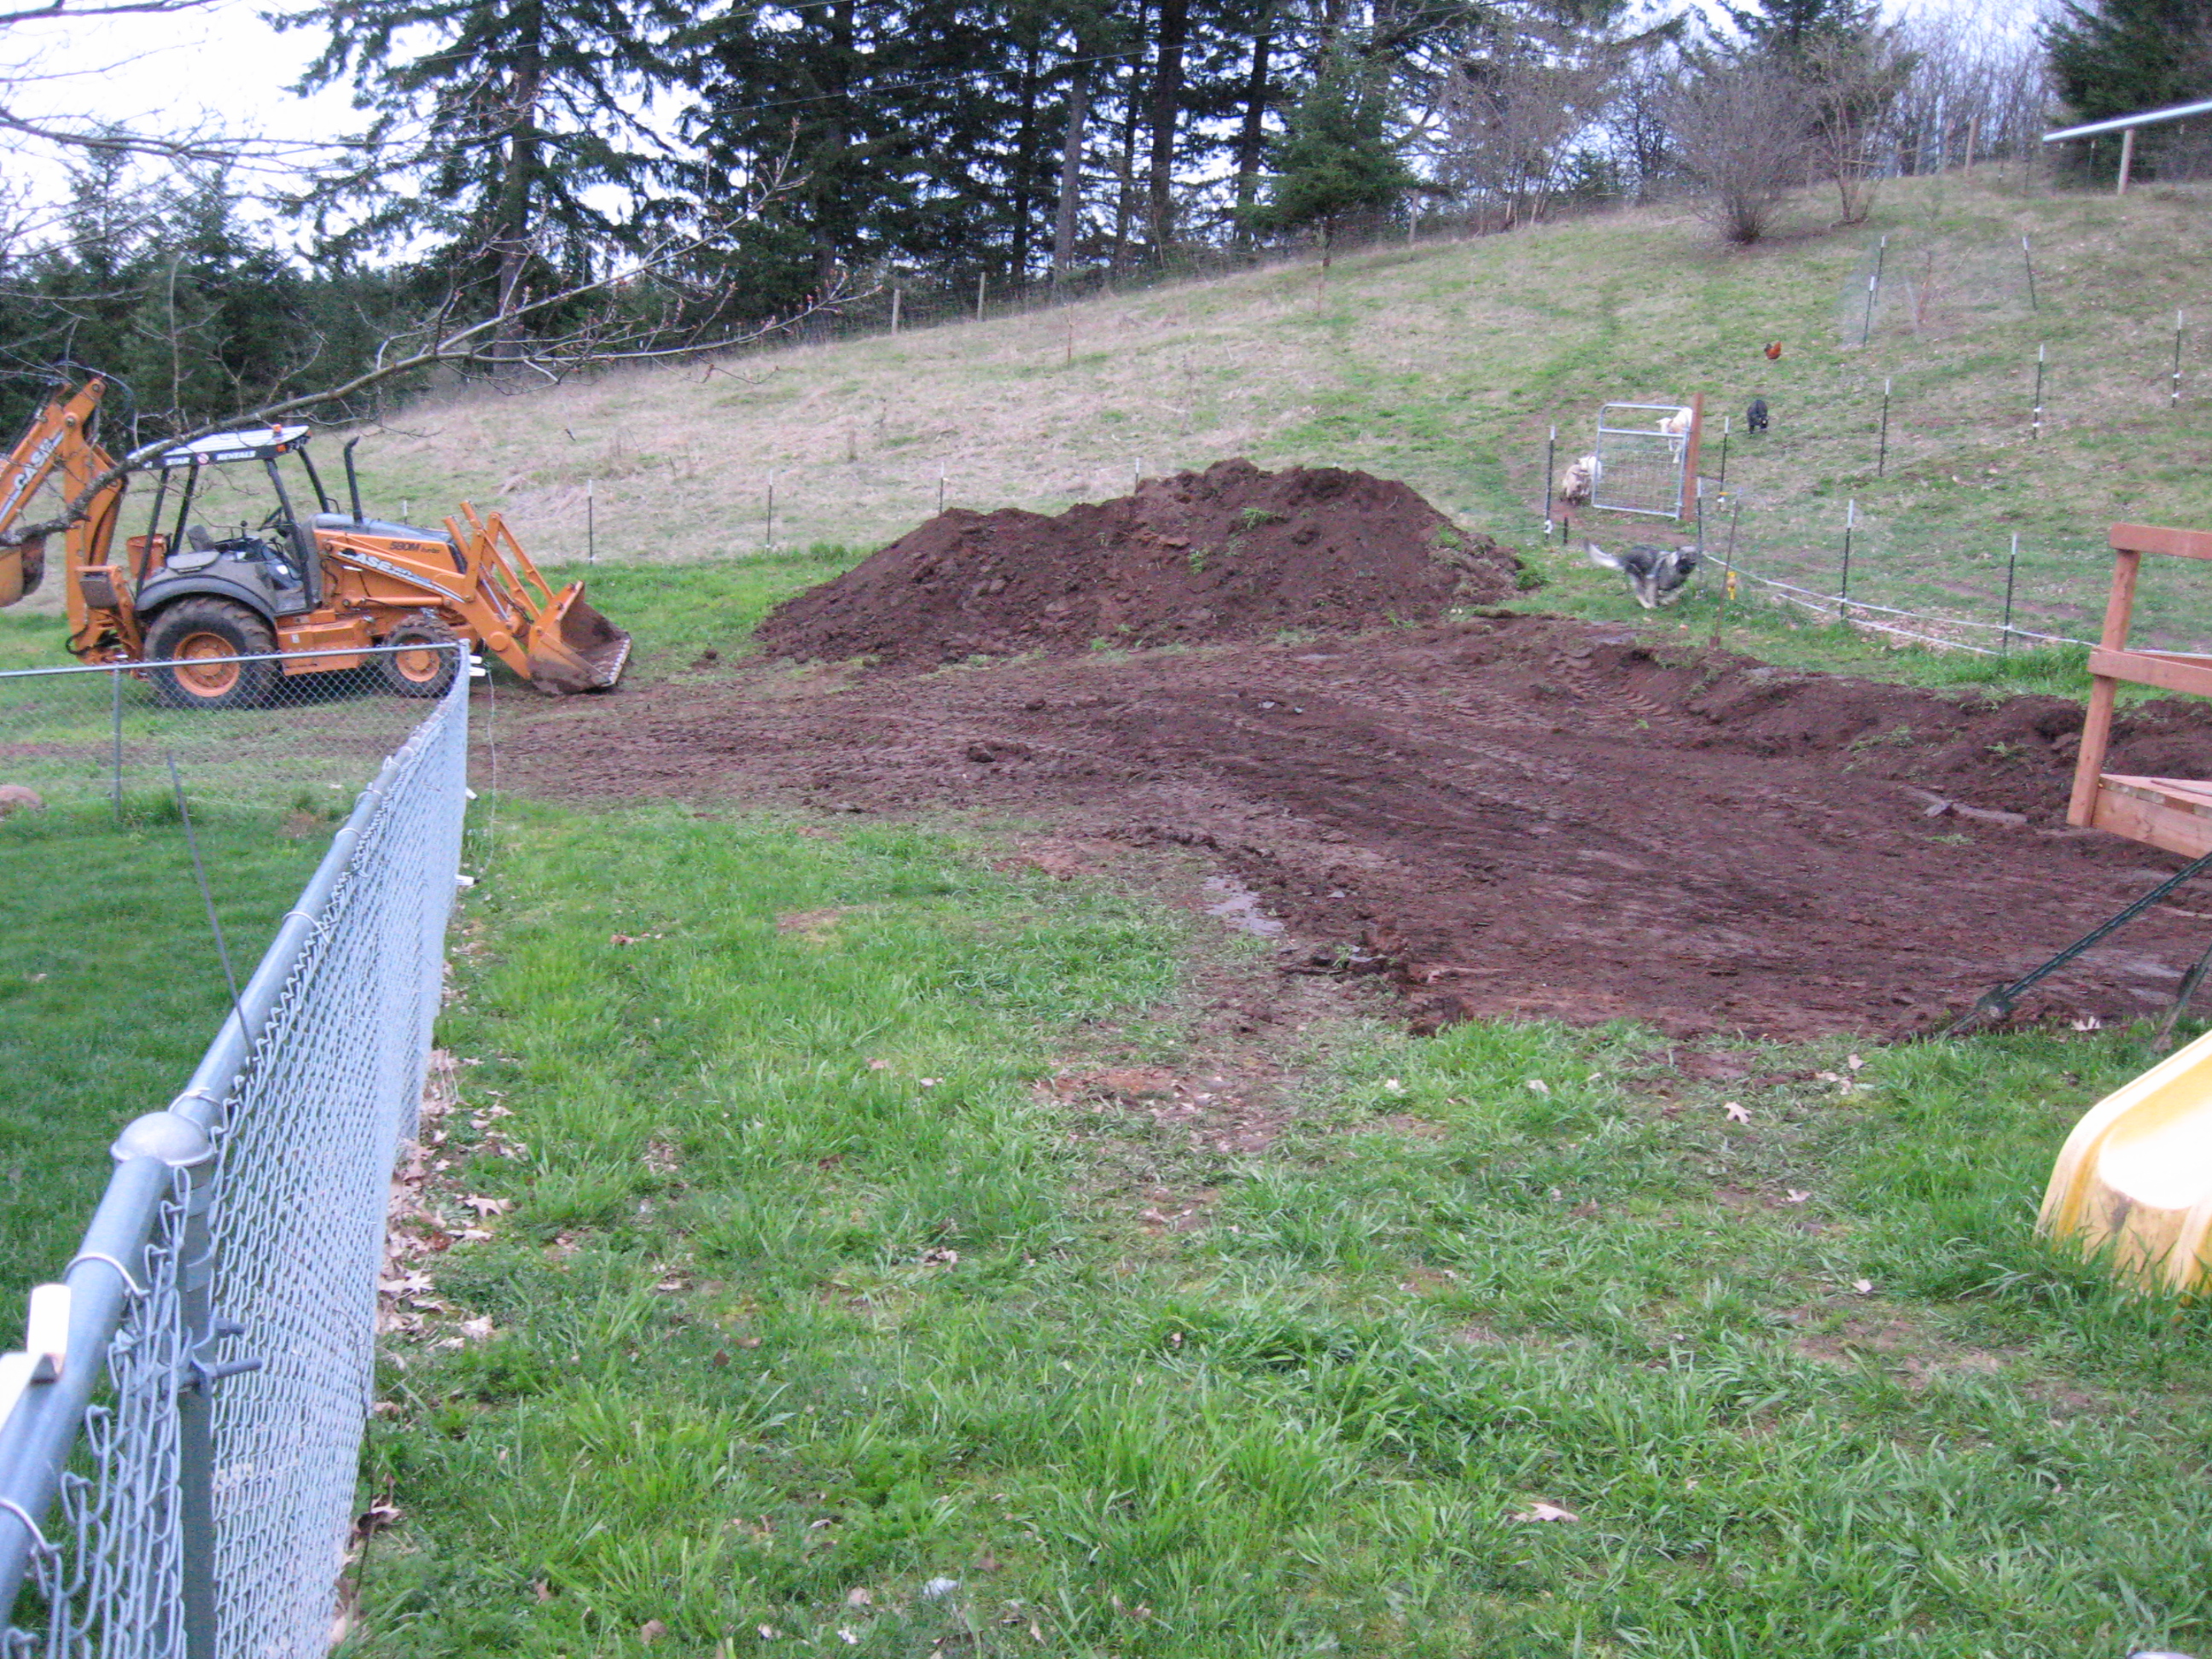
4/16/2009 - Breaking ground on the building site. It turned out that the dirt from the building site was a good topsoil, but we needed clay since we are going to build with cob (similar to adobe).
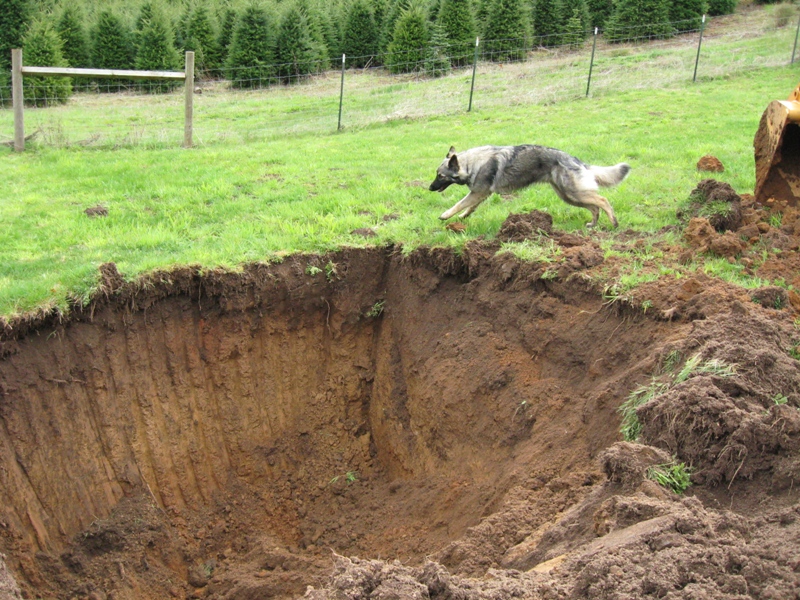
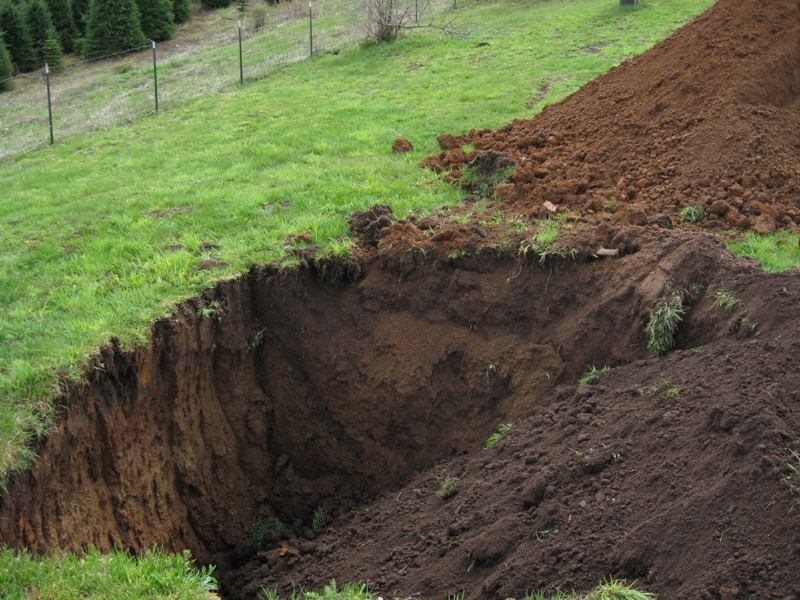
4/17/2009 - That meant I had to "mine" for clay on the bottom part of the property. You can see the color difference from top-to-bottom of the hole.
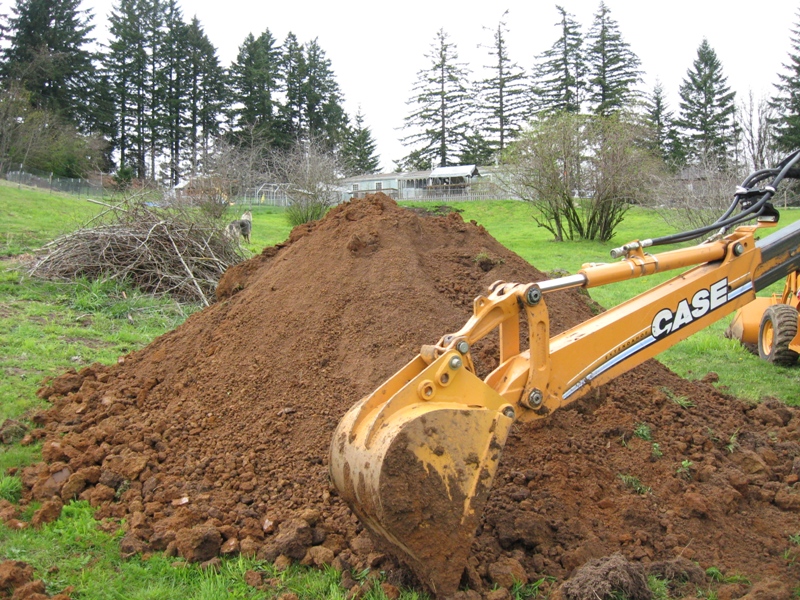
4/17/2009 - Here is the growing pile of future cob.
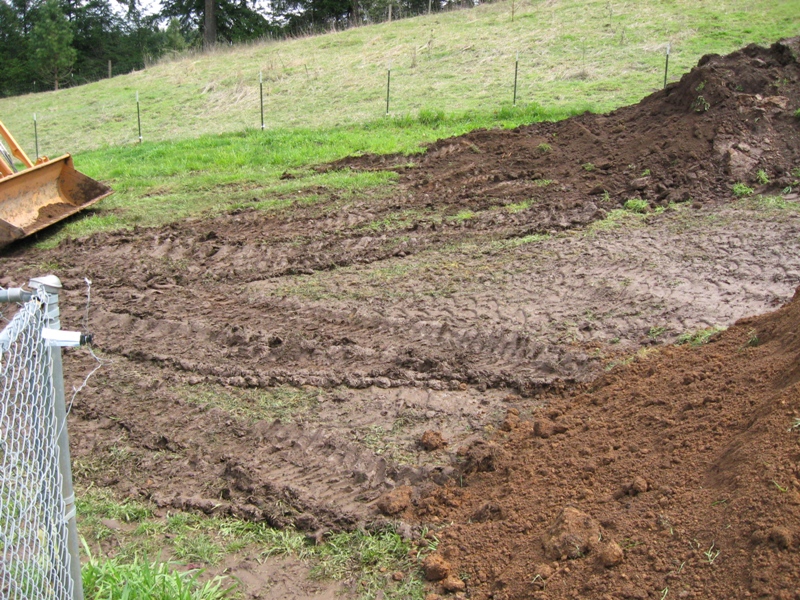
4/17/2009 - The clay moved up the hill to the building site. But the overnight rain made the ground too soft, so I had to stop.
4/17/2009 - I took the nice topsoil and used it to start filling in the big hole
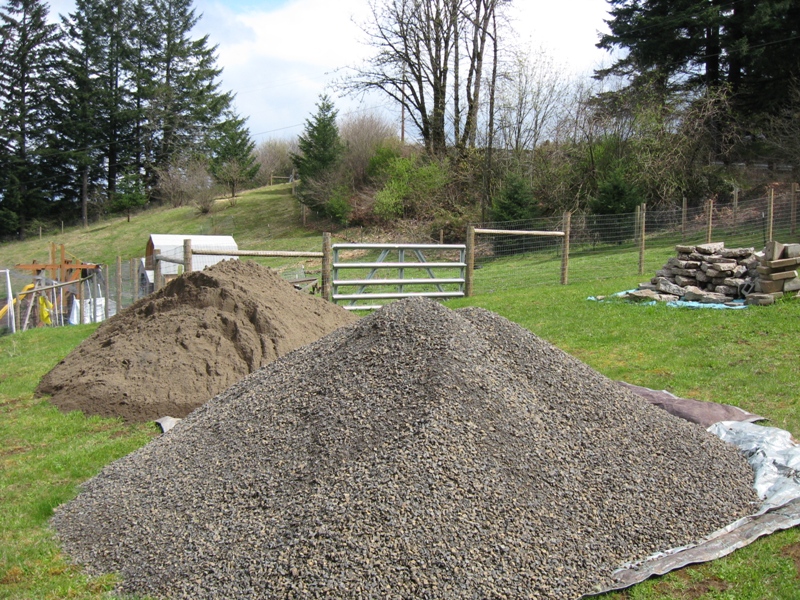
4/17/2009 - Here are raw materials waiting to be moved to back property building site
4/18/2009 - First foundation trench is done.
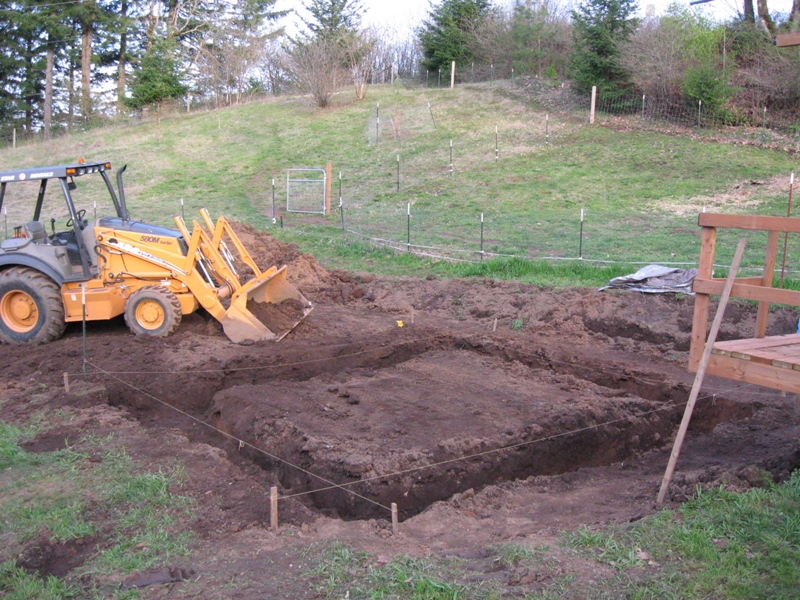
4/18/2009 - Foundation trenches are roughed in.
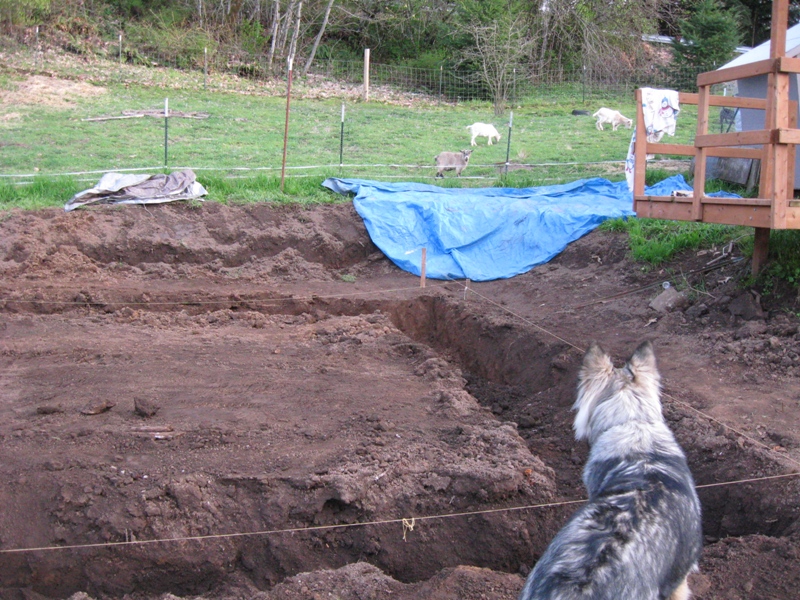
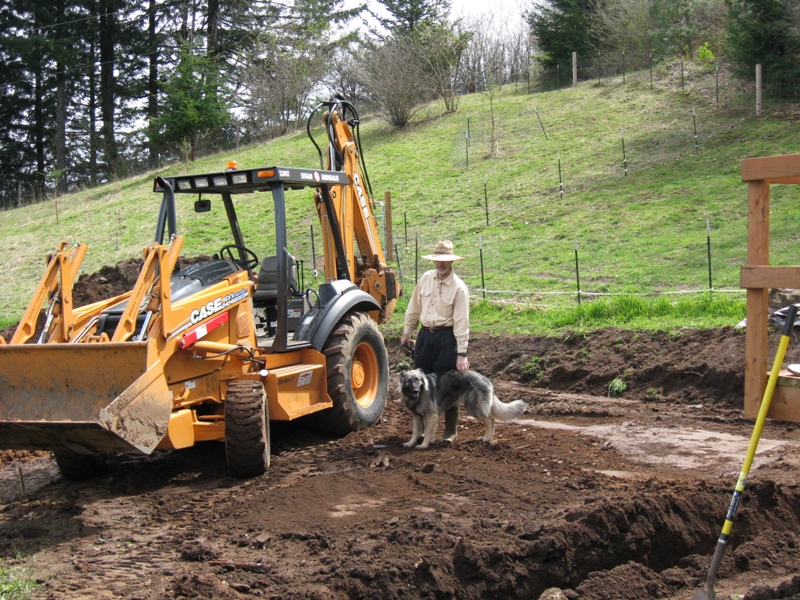
4/18/2009 - Shavora inspects the foundation. Nah, she is watching the goats.
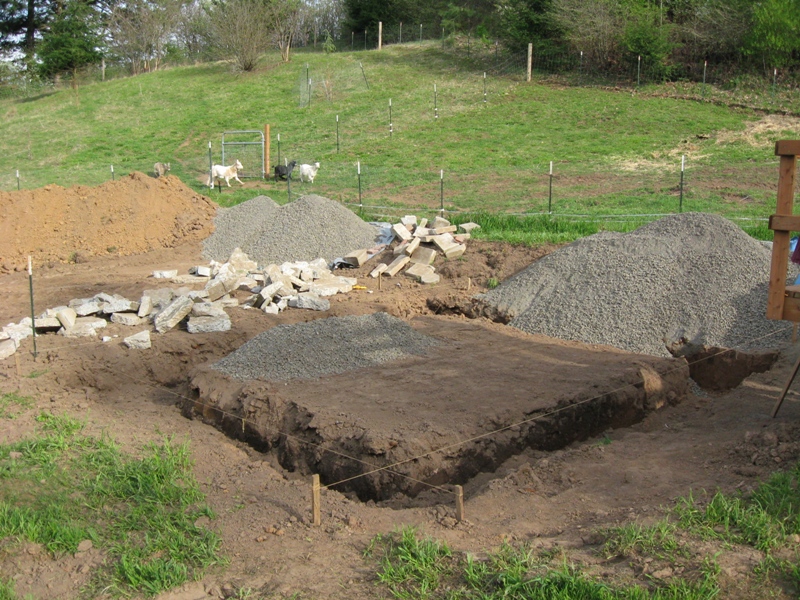
4/22/2009 - Building material is on site, just waiting
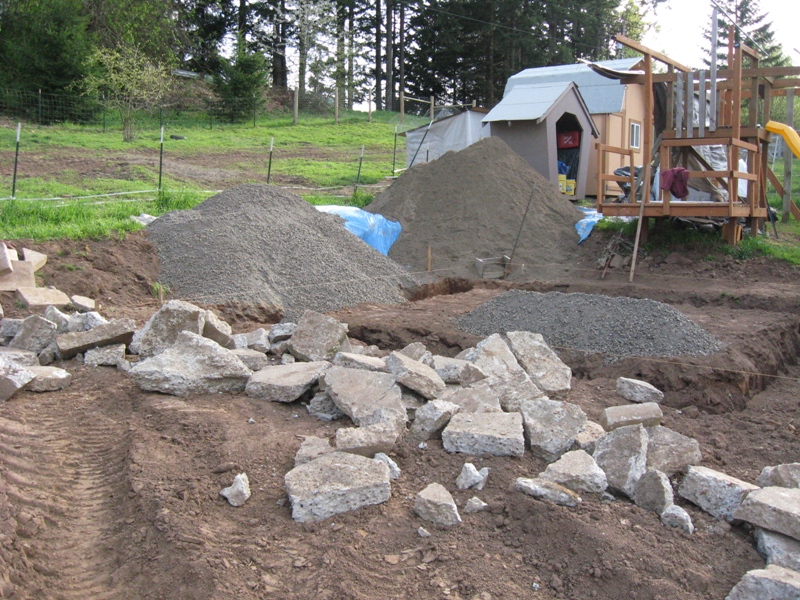
4/22/2009 - Building material is on site, just waiting
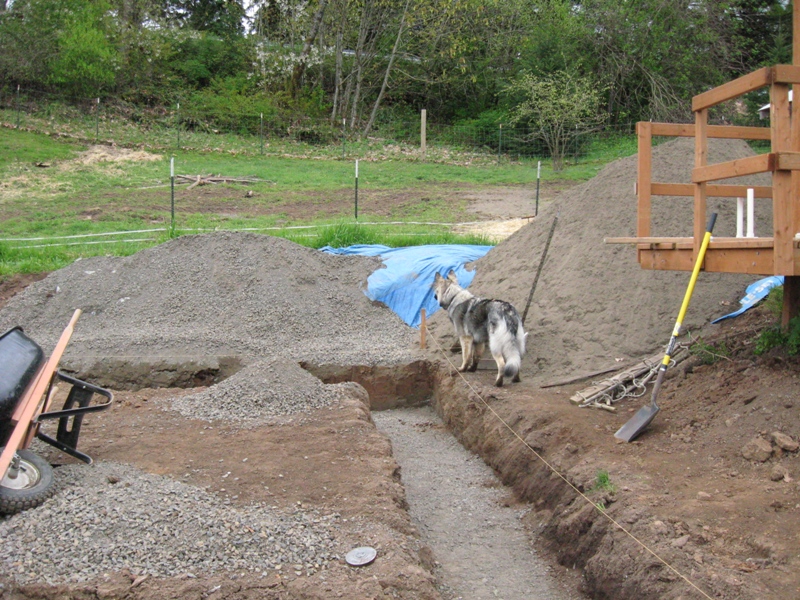
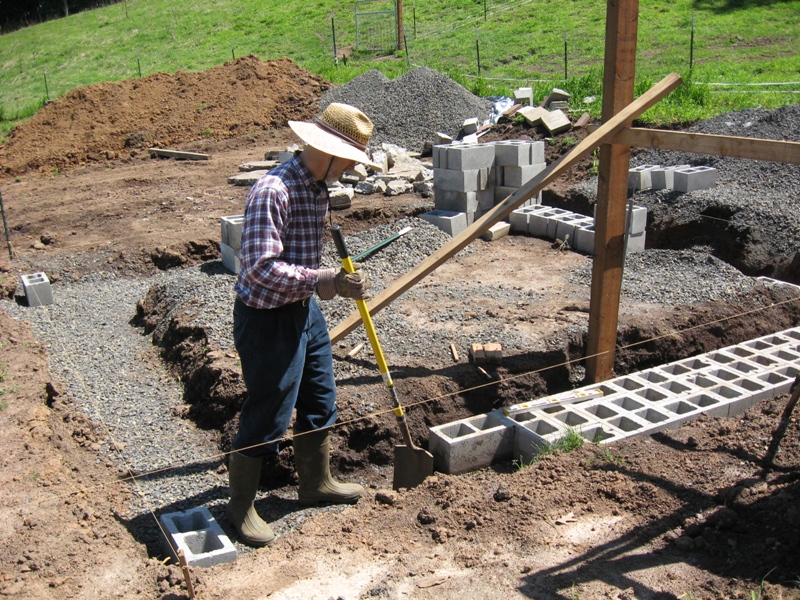
4/26/2009 - Shavora inspects the leveled gravel at the bottom of the trenches. Nah, she is watching those goats again...and knocking dirt down into the trench.
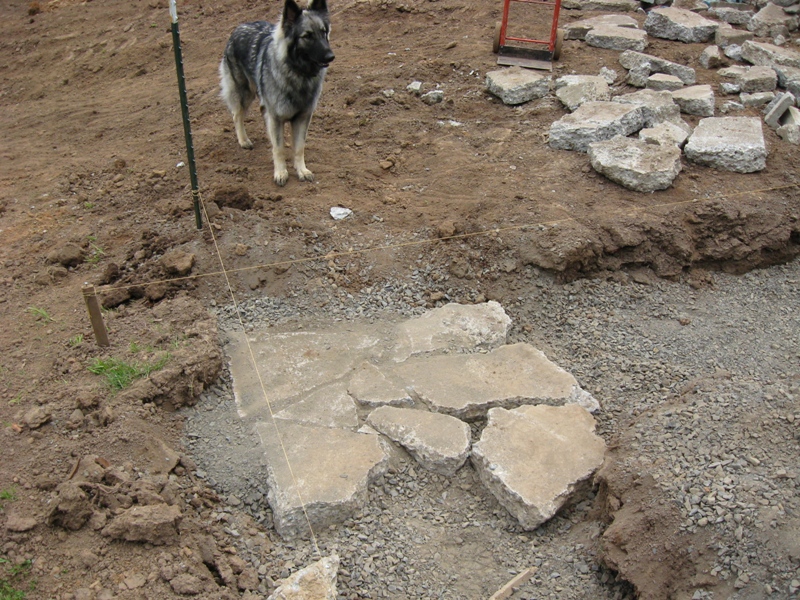
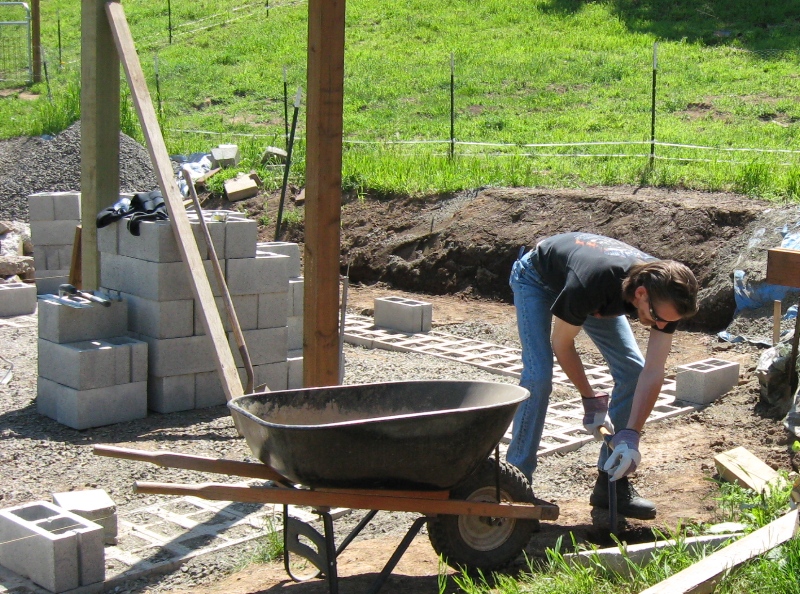
4/26/2009 - It took 3.5 hours to place these irregular pieces.
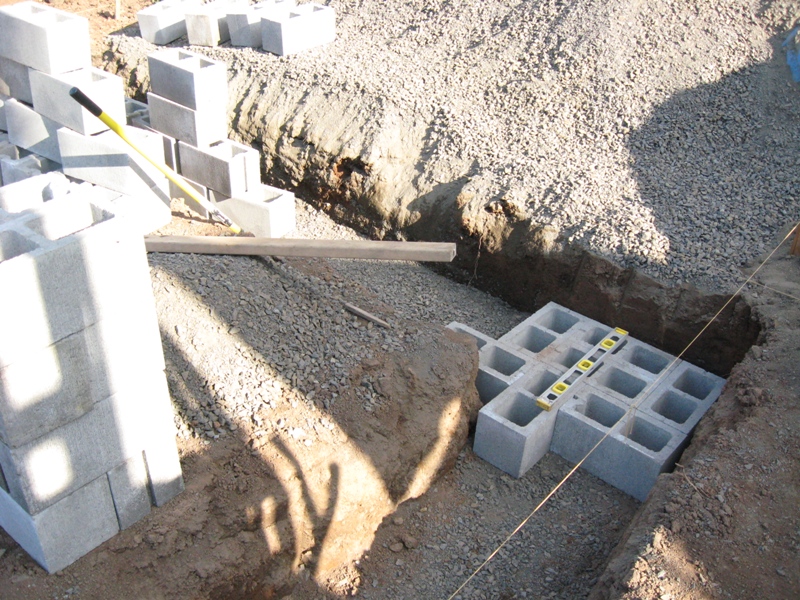
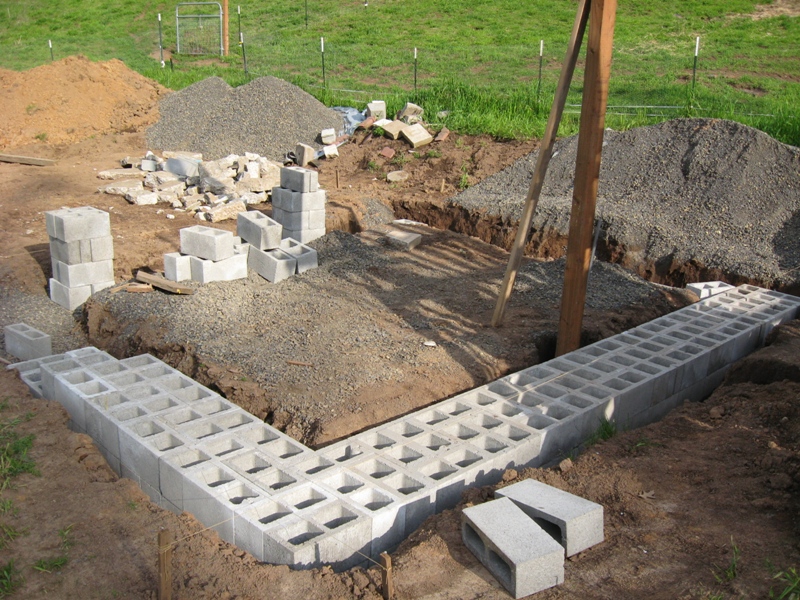
4/26/2009 - It only took about 35 minutes to place these blocks. I'm abandoning the concrete pieces for the foundation. They will be used to create walkways later on.

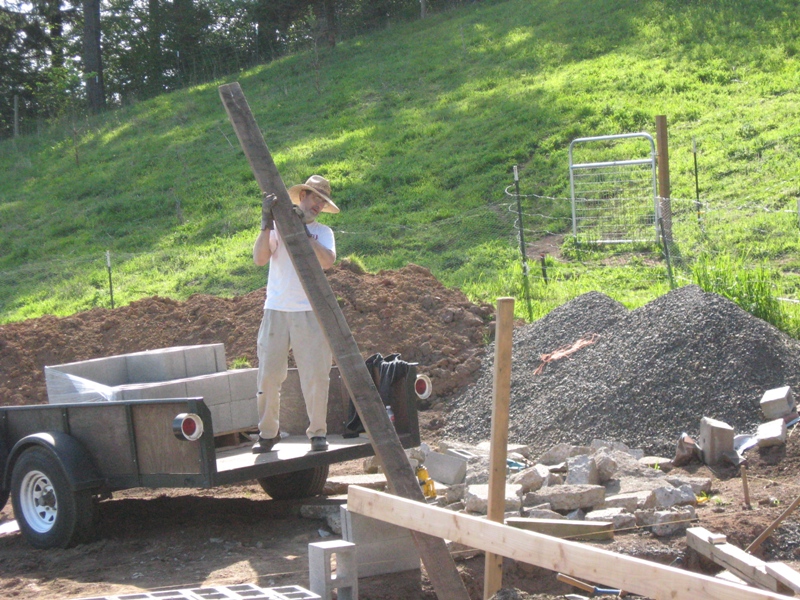
5/02/2009 - Forrest helped me work in the rain to get this first pole up.
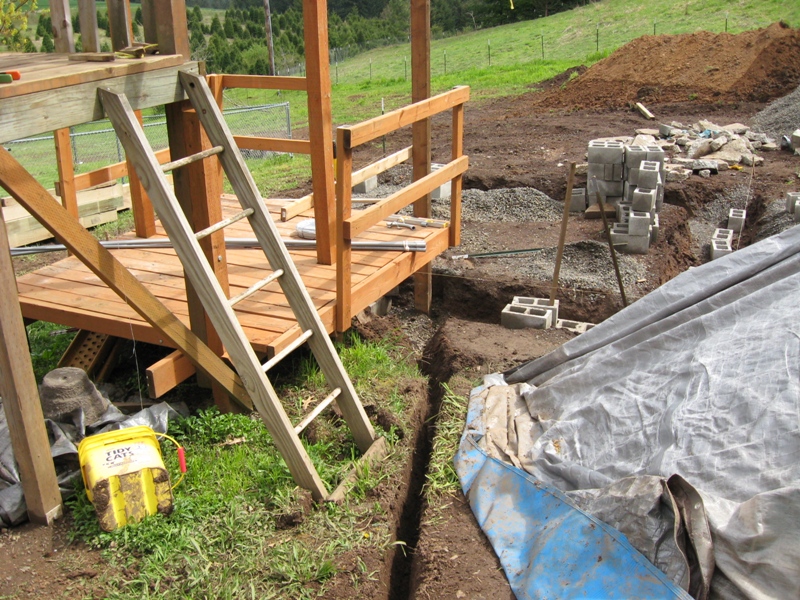
5/03/2009 - Before I could lay more blocks for the foundation, I needed to get the power run under the foundation. I spent the morning digging this trench and running cable.
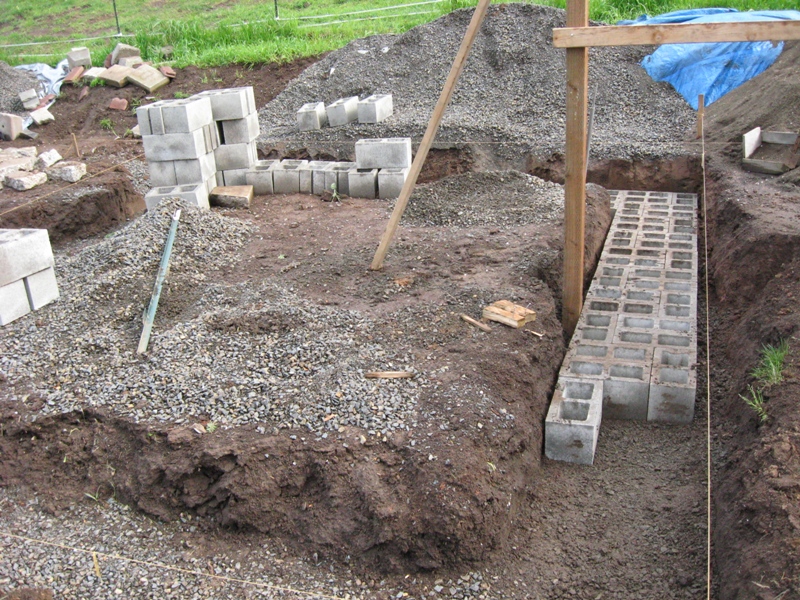
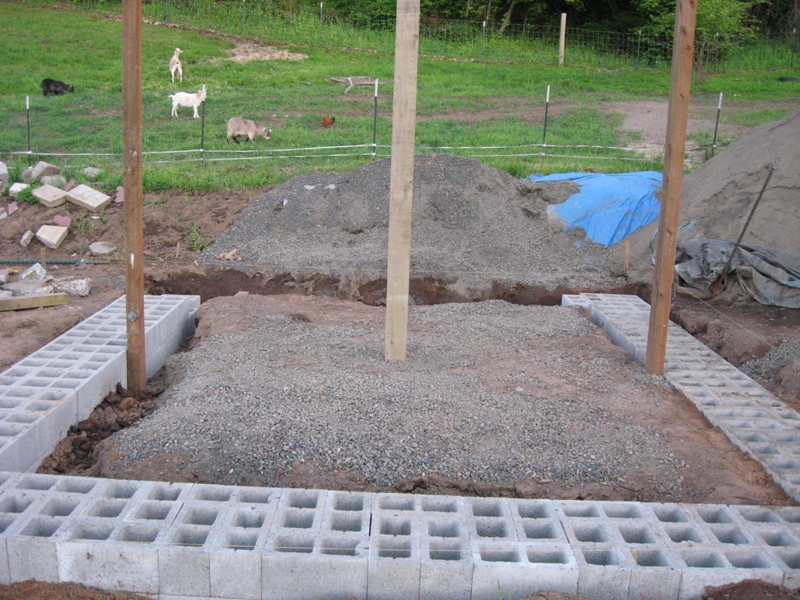
5/03/2009 - Here is how far I was able to get in the afternoon with laying blocks.
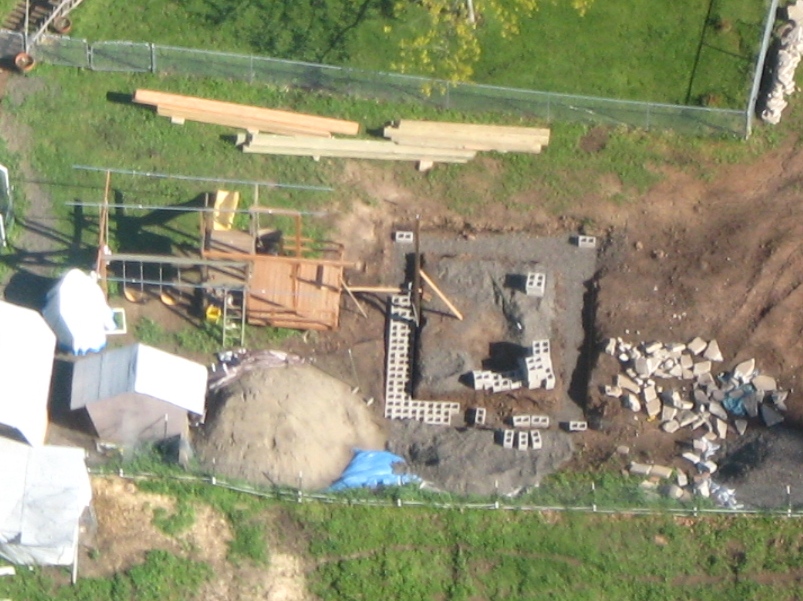
5/09/2009 - I took the morning off to get some aerial pictures of the progress.
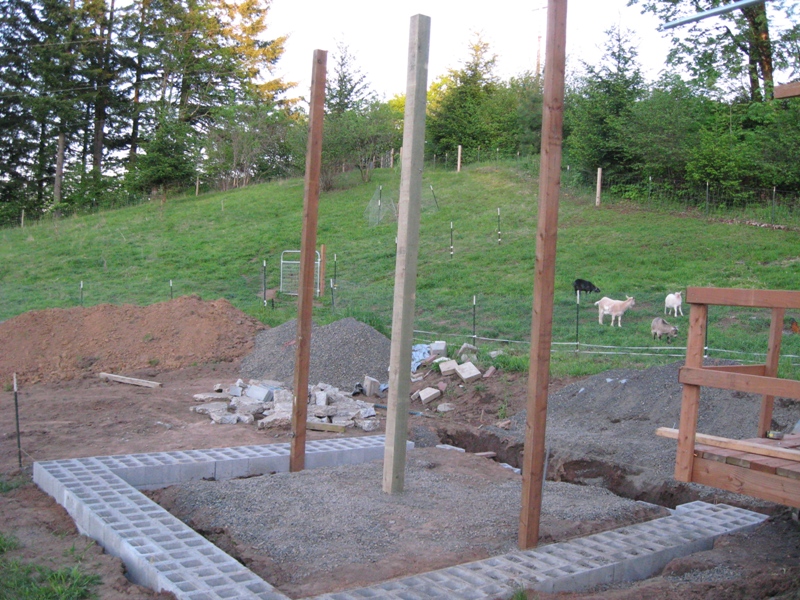
5/09/2009 - Getting base layer of blocks layed.
5/10/2009 - Weekend over, progress made.
5/17/2009 - Second pole going up.
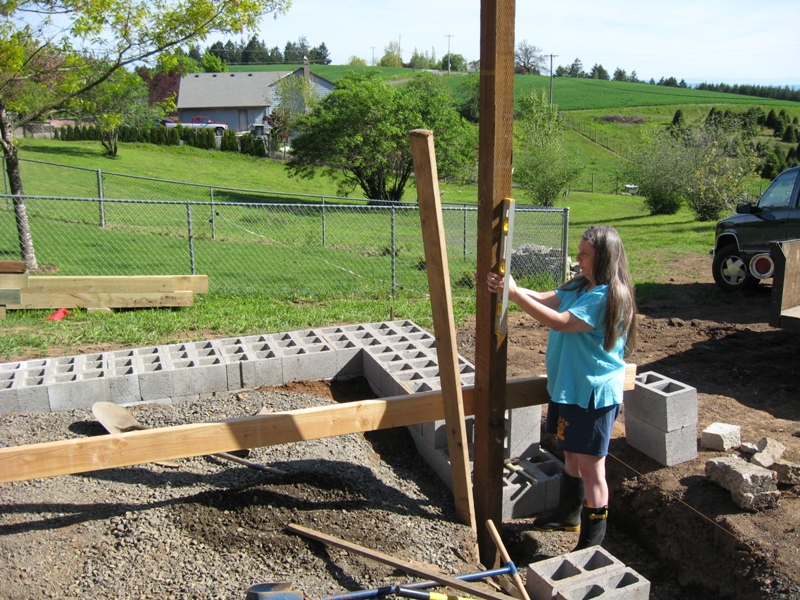
5/17/2009 - Sondra helped stabilize the pole while I added and packed gravel around it.
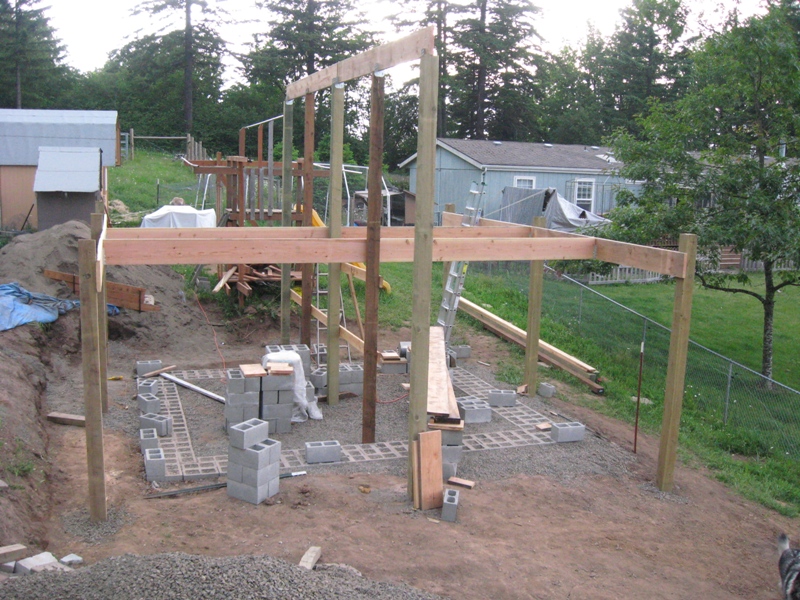
5/17/2009 - We got the heavy, middle 6x6 post up.
5/17/2009 - Weekend over, good weather, good progress.
5/23/2009 - I took Friday off and finished the bottom layer. I spent the rest of Friday and Saturday surrounding and filling the blocks with packed gravel.
5/24/2009 - Sunday afternoon my brother-in-law, John, helped me get the last two 18' center poles up for the building roof, and two 12' side poles up.

5/24/2009 - More of John digging a 3' hole in the ground. In the morning I started mortaring the third row of blocks to the second row, which you can see in the lower-left.
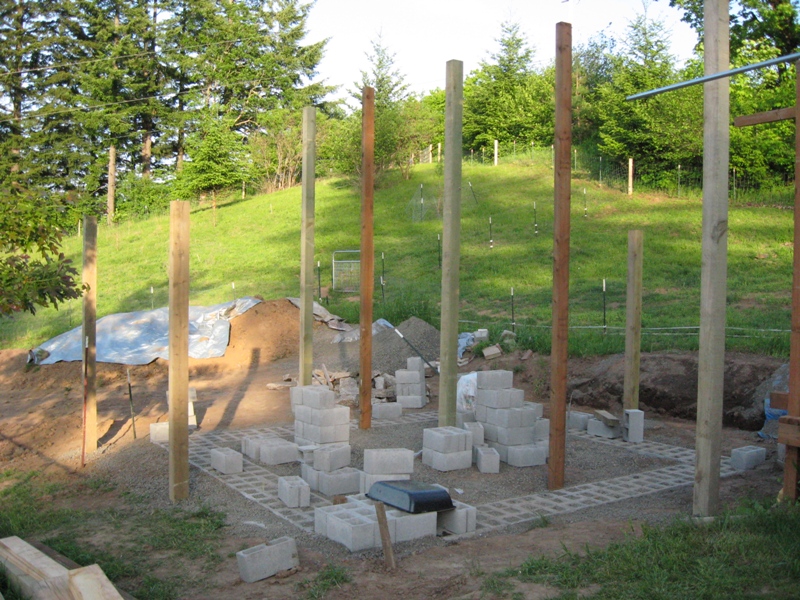
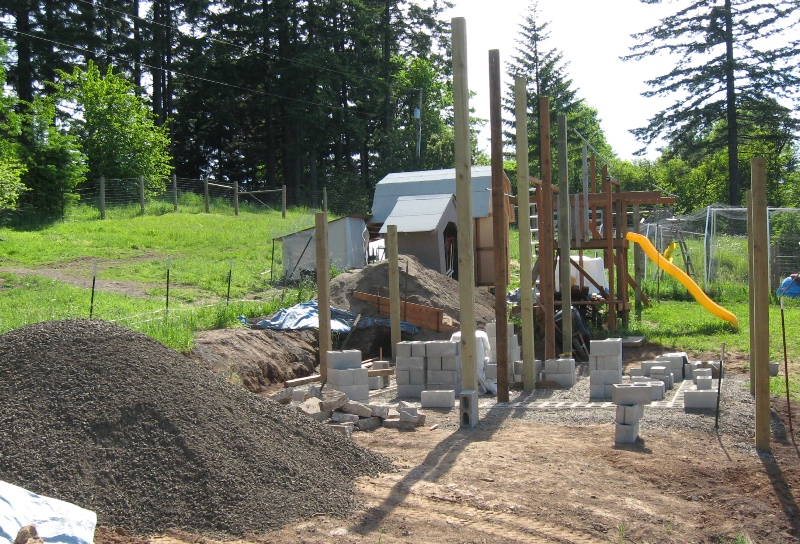
5/25/2009 - Today was a slow progress day because I was tired. I did get the last couple poles graveled that John helped with and I got one more put up today. I also found a dry storage place for all the mortar I bought. Moving 21 60# bags finished me for the day.
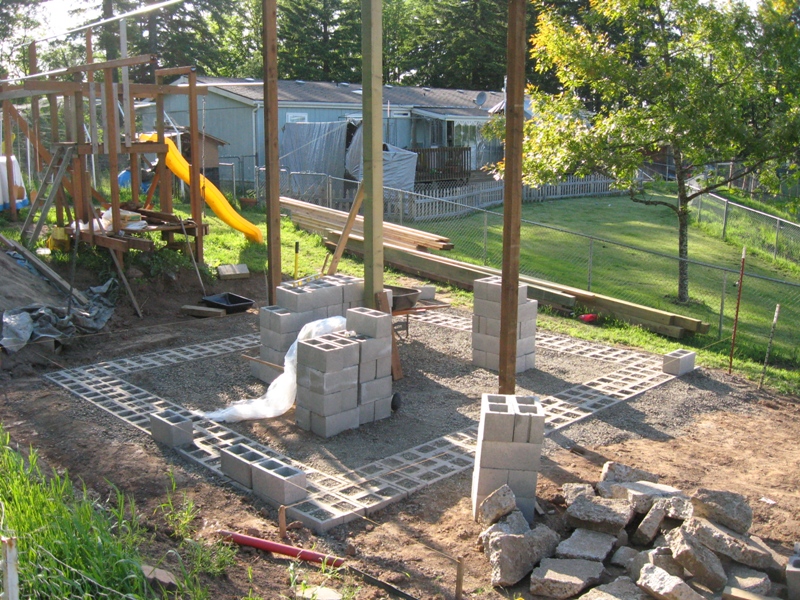
5/25/2009 - Hard to imagine all this clutter will come together into a building.
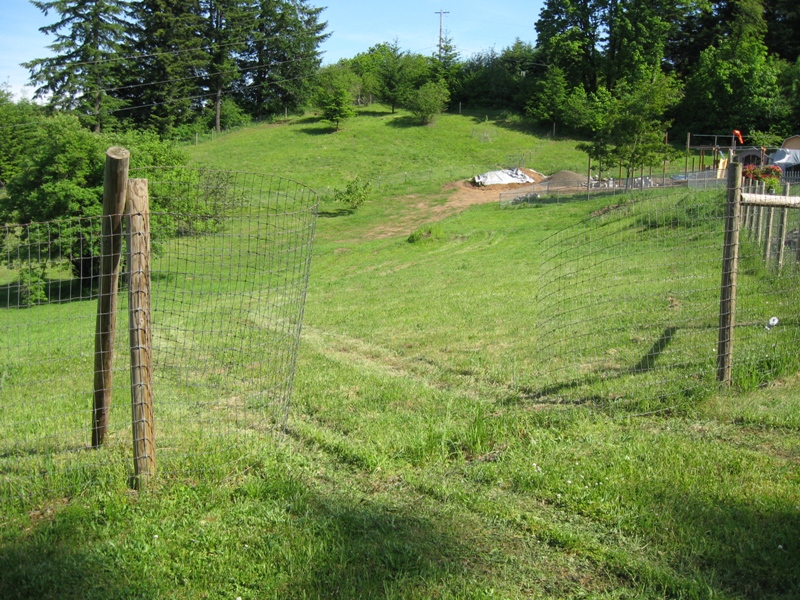
5/29/2009 - We needed a load of gravel, but the big dump truck couldn't get through our farm gate. So, I cut the fence and the driver and I pulled out the post. You can see the dump truck tracks when he drove "cross-country" to get up to the building site.
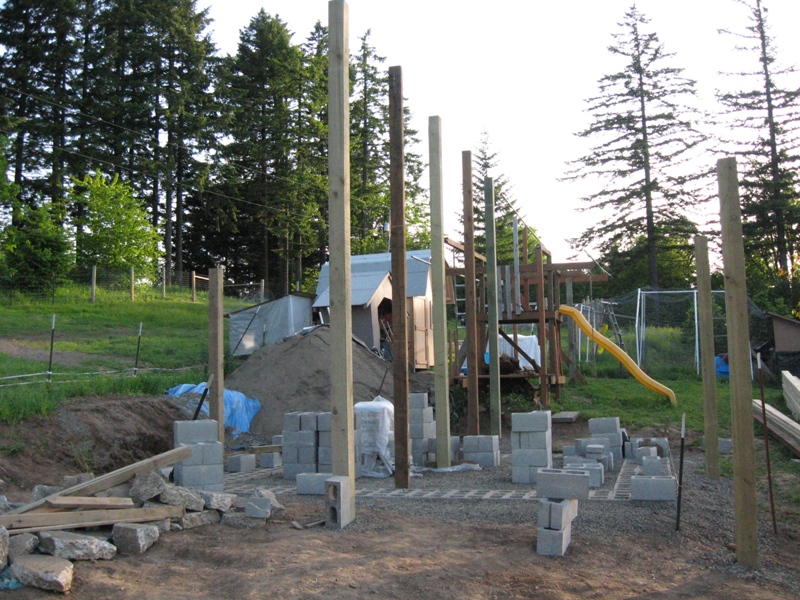
5/29/2009 - The gravel ended up right where I wanted it. In the background you can see the far pole I erected at 7:00am this morning before going to work. Last night I moved the sand pile so I could get to the area where the post had to go.
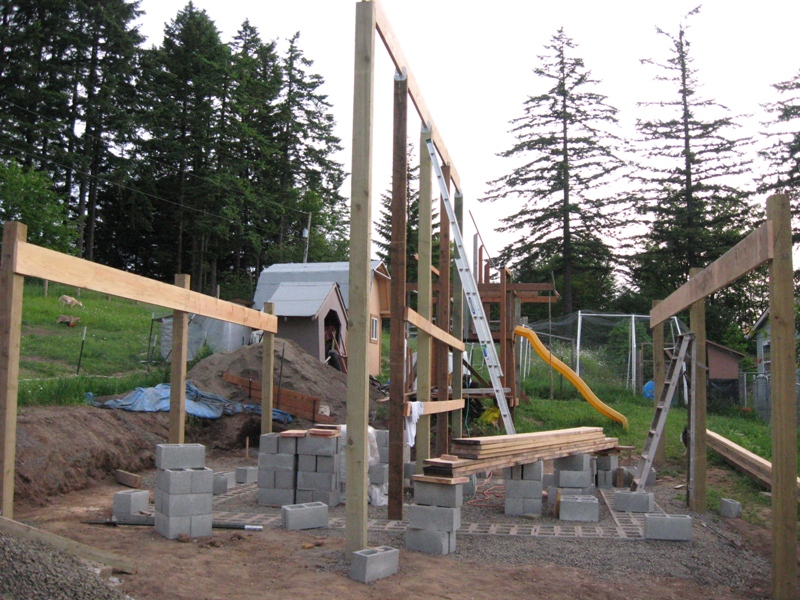
5/31/2009 - With the lumber I had on hand, I made a make-shift scaffold so I could work on leveling the tops of the poles.
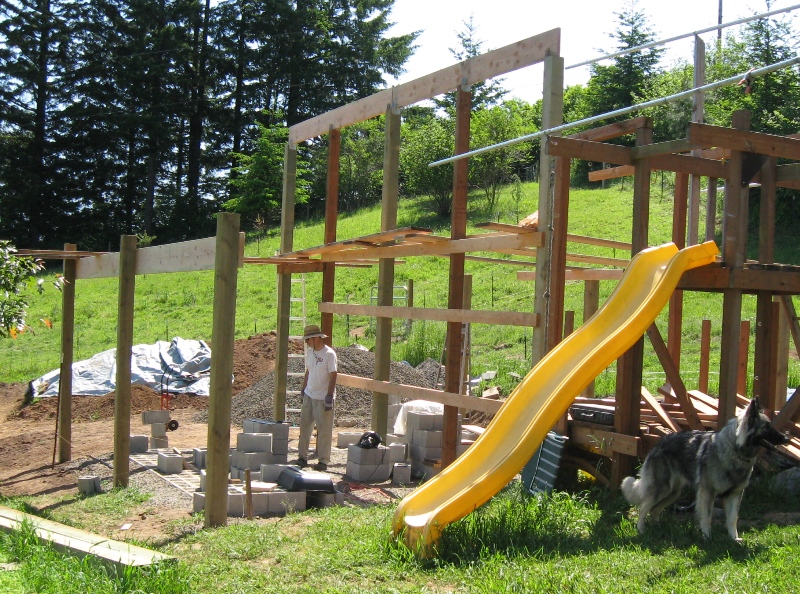
5/31/2009 - Center beams are up. Now it is time to take down the scaffold so I can measure across from one side to the other to get the side beams level with each other.
5/31/2009 - I waited until it cooled down in the evening to get the last side beams up (on the left). Sondra climbed the little ladder while I climbed the big ladder with the tape measure to see how long the rafters have to be.
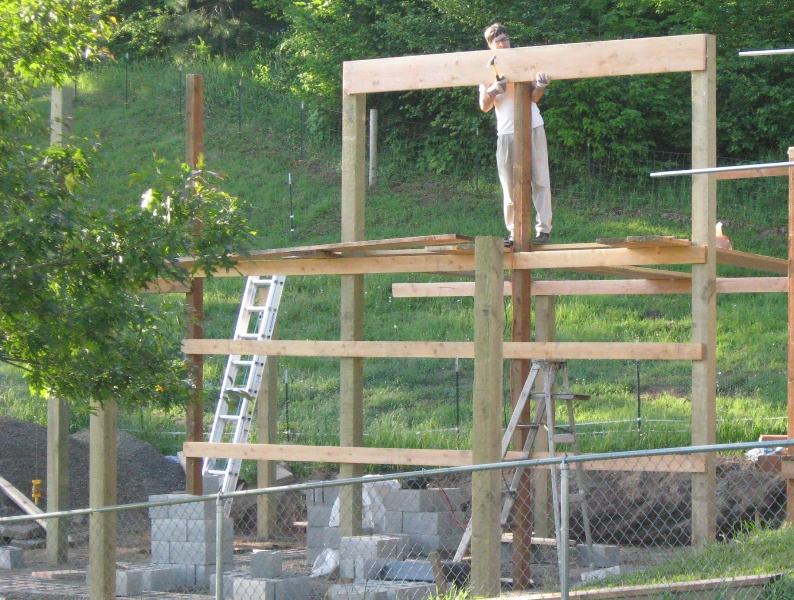
6/1/2009 - I decided I didn't like working so high when it comes time to put up the rafters, so I started framing the attic so I can work from that level.
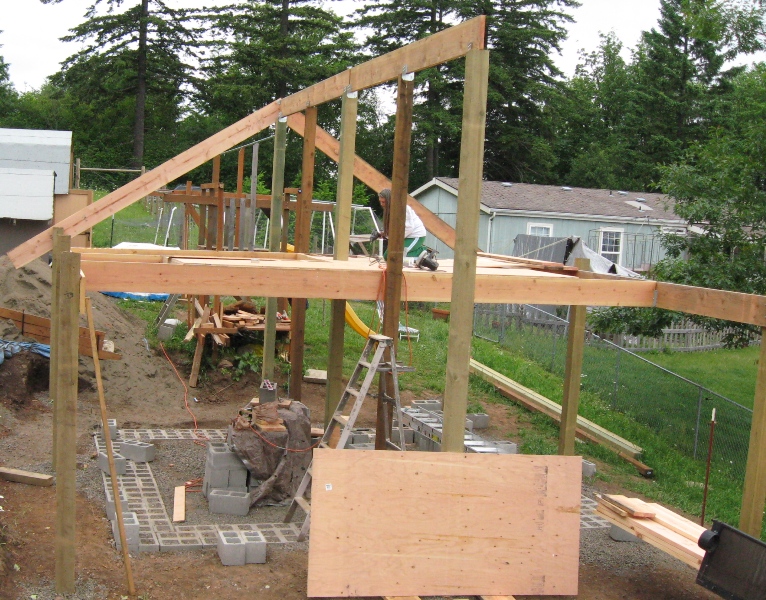
6/7/2009 - I got the front rafters up, and then continued to work on the attic. Sondra helped screw down the attic floor.
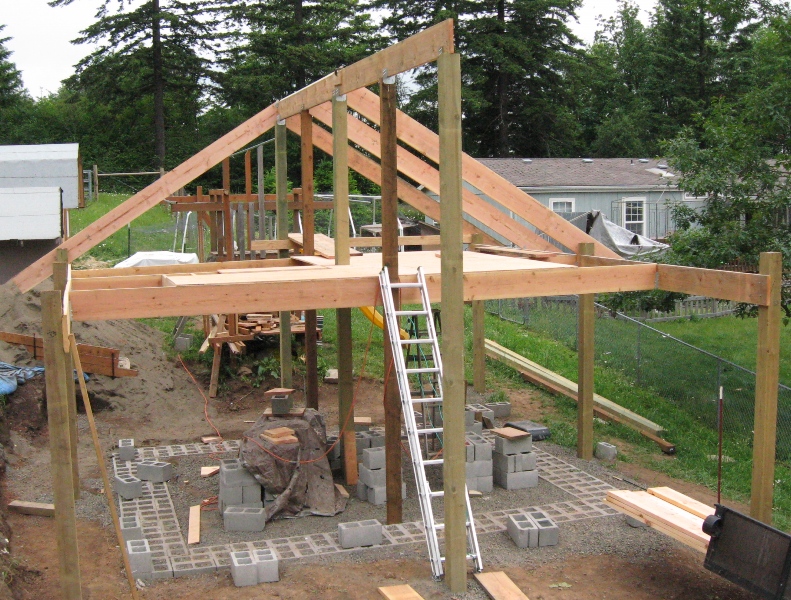
6/7/2009 - The attic floor is almost done and the rafters are going up.

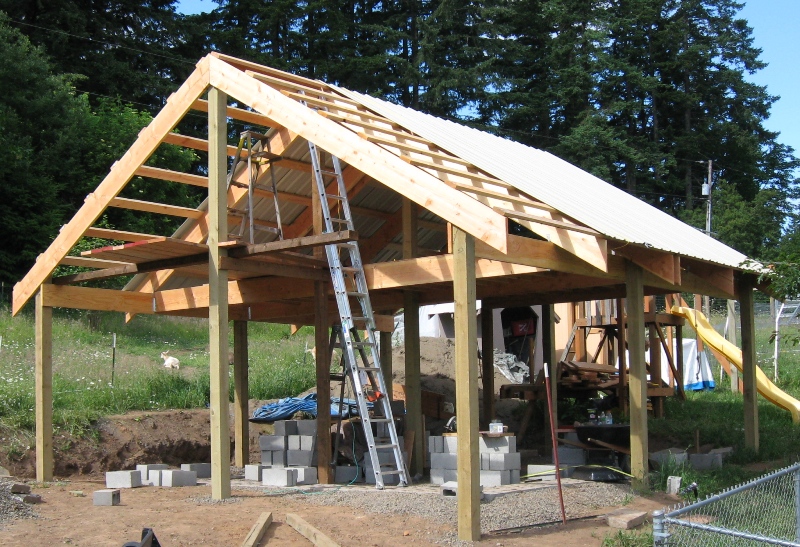
6/14/2009 - The rafters are done and the girts (cross-braces) are going up.
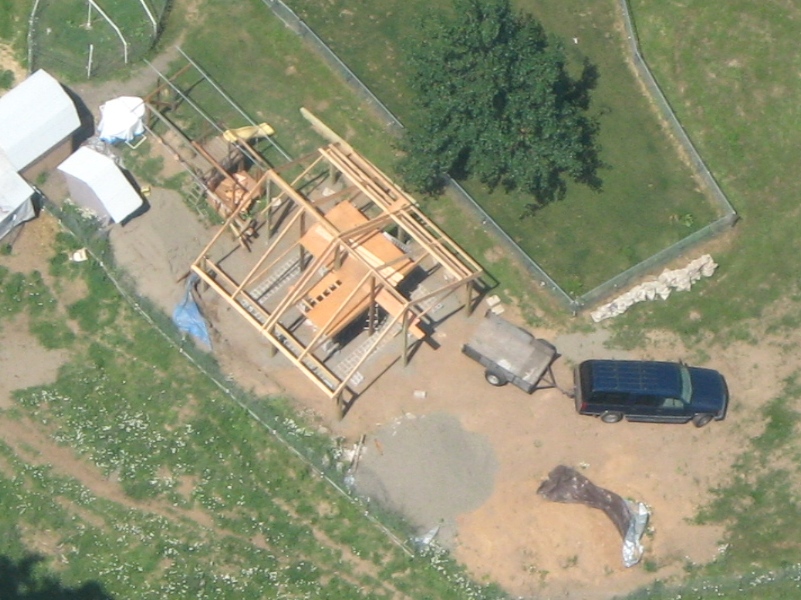
6/15/2009 - Same as 6/14, but looking down from 800 ft over the site.

6/17/2009 - Did a little each night after work to complete this north side. It is ready for the metal roofing.
6/21/2009 - Took off work Friday to get most of the cross-braces up. Went and picked up the metal Friday at noon and started in on it. I had some help Saturday to make some good progress on the roof. This was the progress as of Sunday morning.
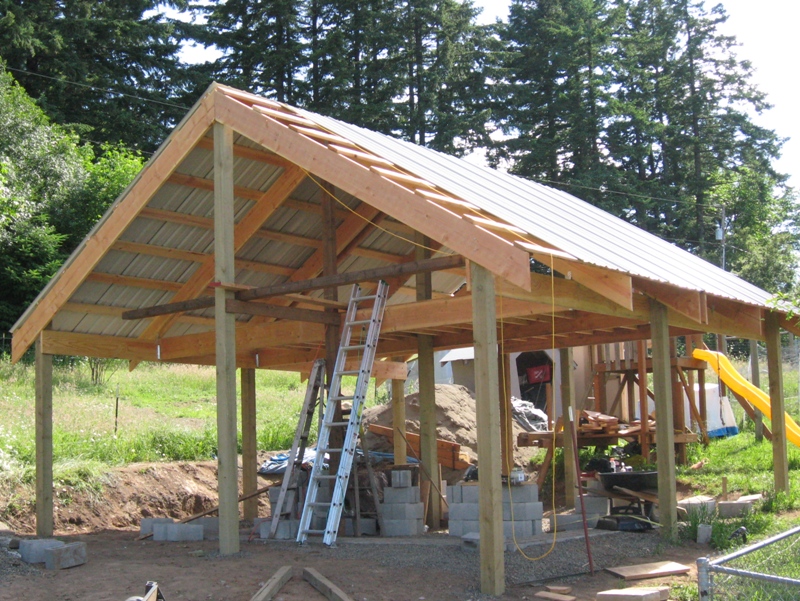
6/21/2009 - I almost finished the metal roofing (just one panel left), but ran out of steam and time on Sunday.
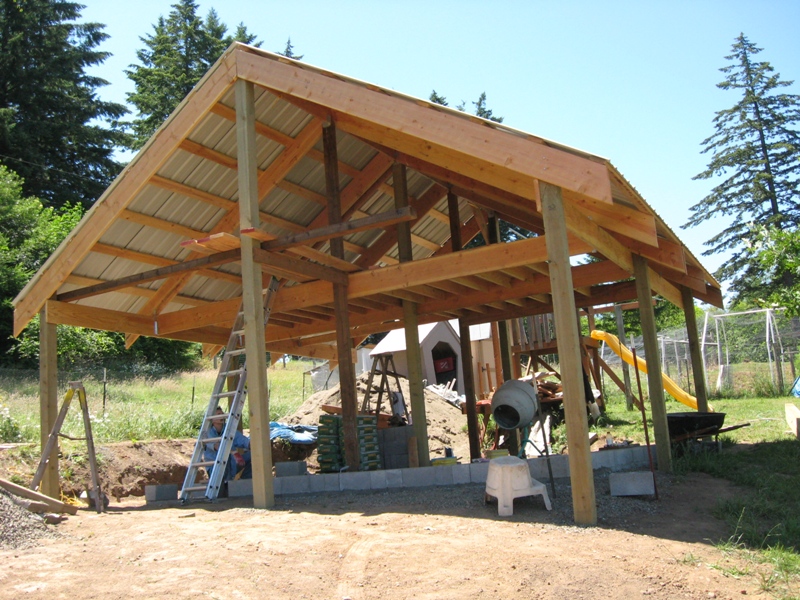
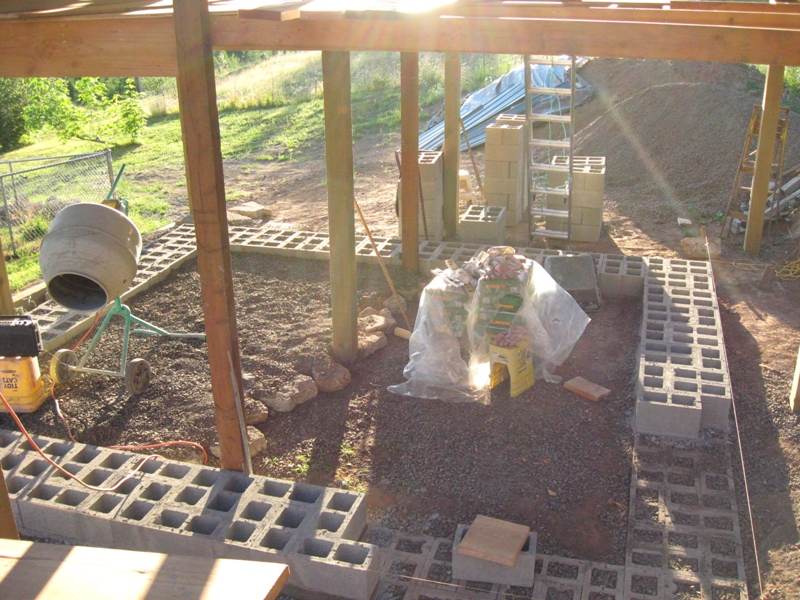
6/28/2009 - Got the last roof panel up. Then it was time to start working on mortaring concrete blocks for the foundation. Can you find: brother-in-law, John in this picture?

6/28/2009 - John helped make good progress on the blocks. The second-to-last layer is almost done.
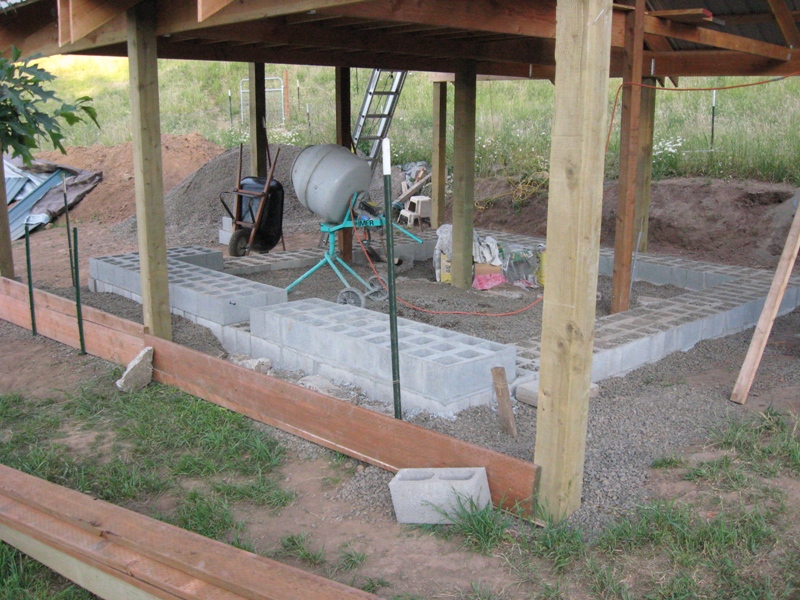
6/29/2009 - Took this shot early in the morning on 6/30 to show the progress I made after work on Monday. I realized I have to pick up the pace. So I layed 10 more blocks and started filling in the floor base with concrete chunks and gravel to raise it up.
6/30/2009 - Took this shot early in the morning on 7/01 to show the progress I made after work on Tuesday. Another 8 blocks added and more material for the floor base. I also worked on raising the ground level on the north side of the building with concrete pieces and gravel.
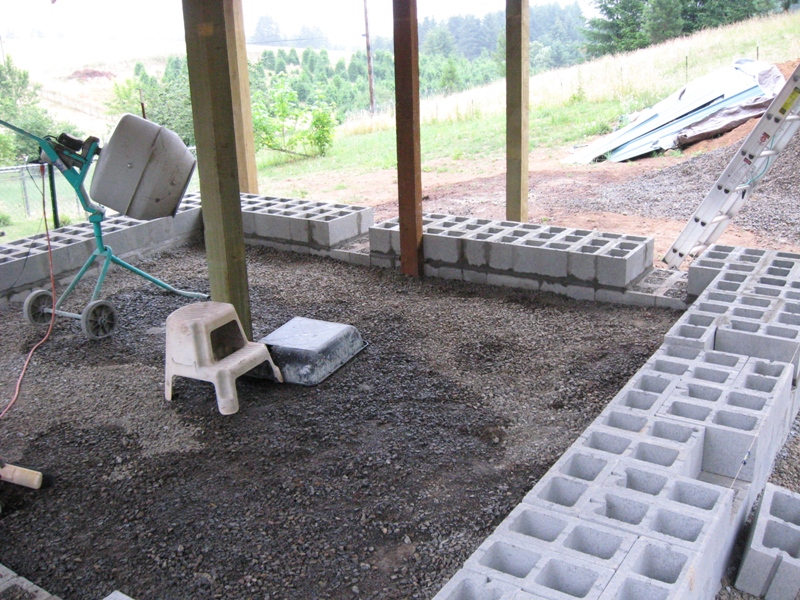
7/05/2009 - The second-to-last layer of blocks is mortared and filled with gravel, and I have a start at mortaring the final layer. I also finished 1/2 of a retaining wall on the north side of the building.

7/05/2009 - Door openings will be defined in this last layer of blocks. I layed out the whole first row before starting to motar them.
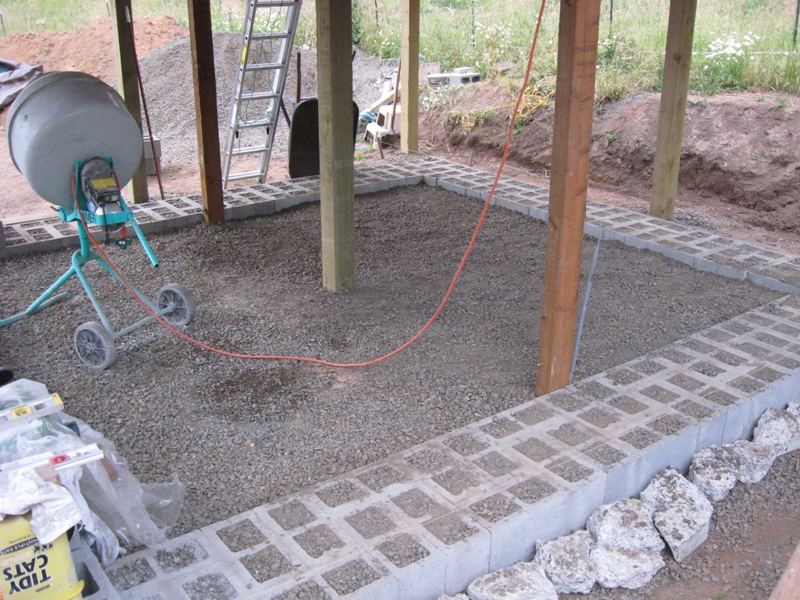
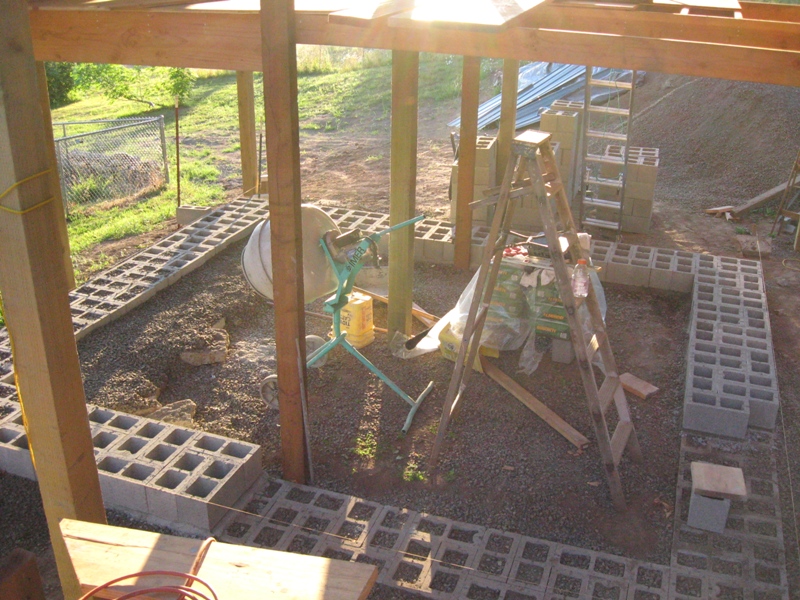
7/06/2009 - The floor is almost ready for concrete.
7/12/2009 - Only 50 blocks left to mortar (about 5 more 80# bags to go to finish the last layer of blocks). Two doggy door openings are visible on the far side.
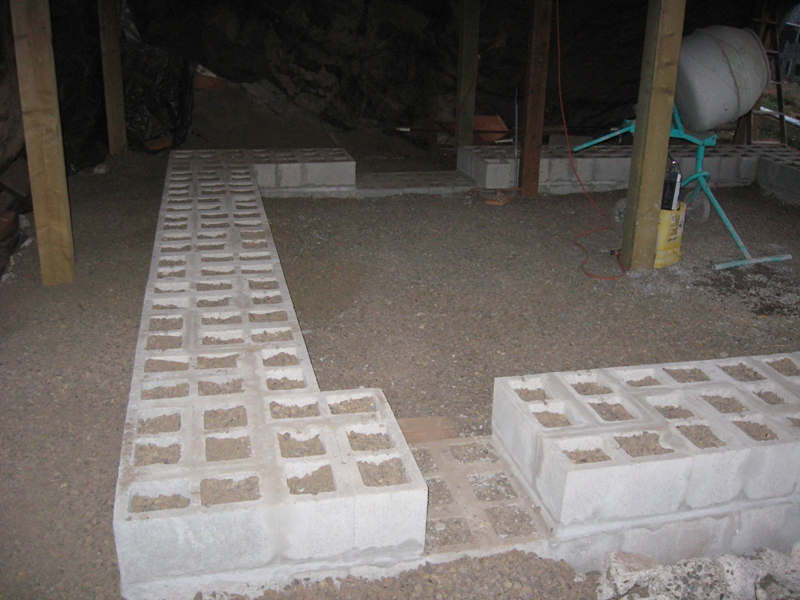
7/26/2009 - On Saturday (7/25) I finished motaring the blocks. Then I filled them with gravel. Sunday I got a couple loads of concrete chunks combined with gravel to raise the ground level around the building. We are finally ready to start cobbing. I put up some tarps to keep the direct south and west sun off the building... it helped from drying out the motar too fast and will help keep the cob from drying too quick.
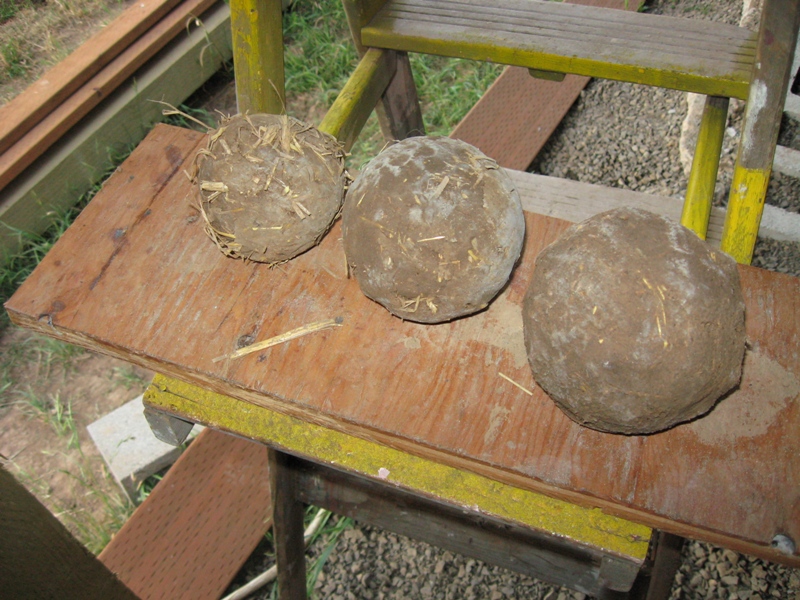
7/26/2009 - This was the first test with the cob. The test on the left was 2 cups clay, 1/2 cup sand and the straw. It was pretty sticky when making it. The middle looks like the best. 2 cups clay, 1 cup sand and the straw. The one on the right was 2 cups clay and 2 cups sand, plus the straw. That one looks like too much sand.